Over winter break I bought the D&D Starter Set. It came with a Player’s Book, a Dungeon Master’s Book, a nice dual-sided mat with external and dungeon settings, 6 standard RPG dice, a ton of punchout monster tokens, some little advertising leaflets (one of which gives the URL of a free downloadable quest), and some kinda handy power cards.
Pics
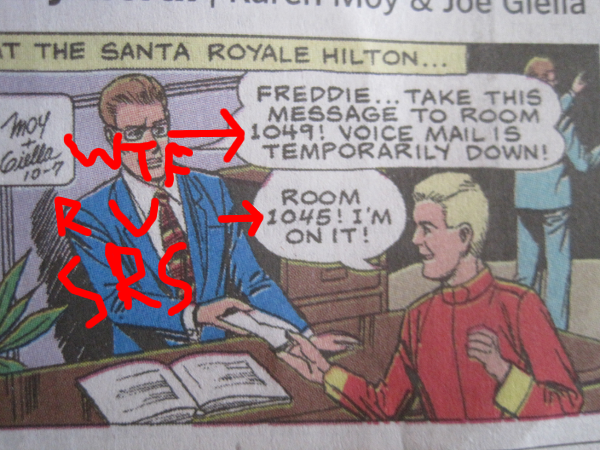
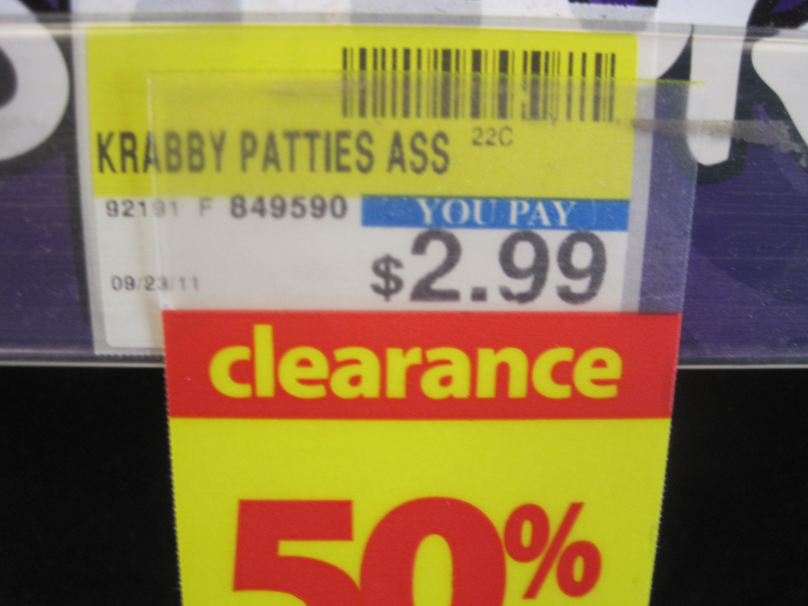
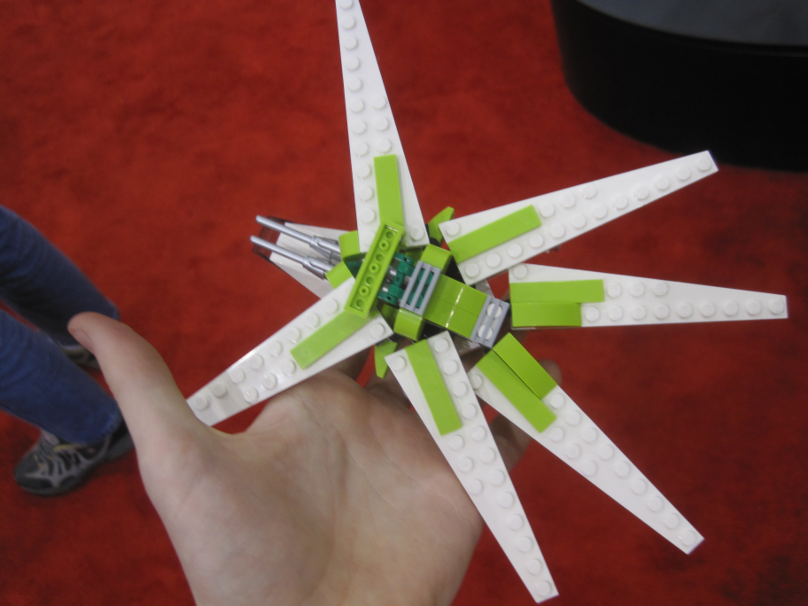
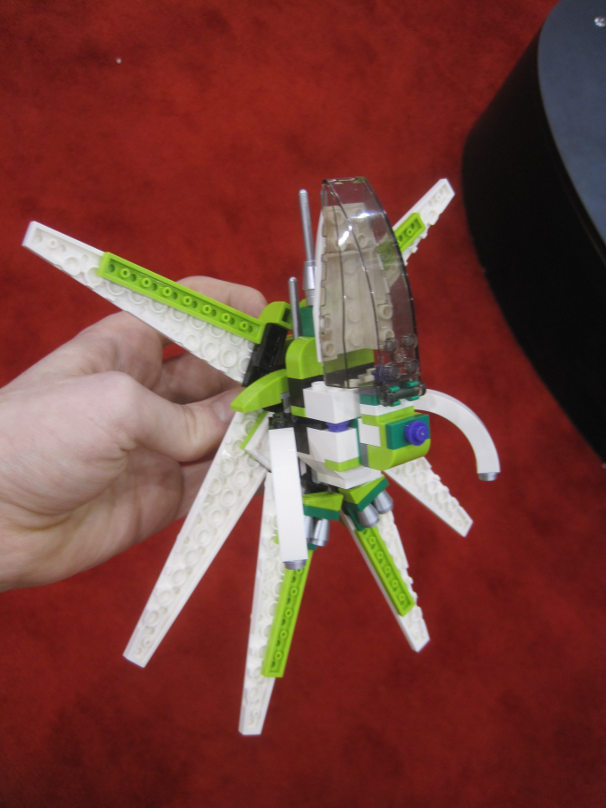
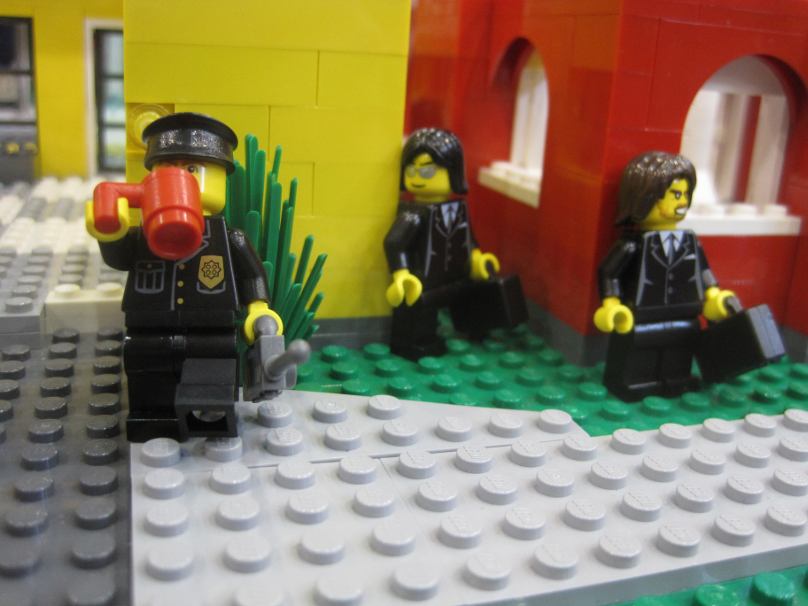
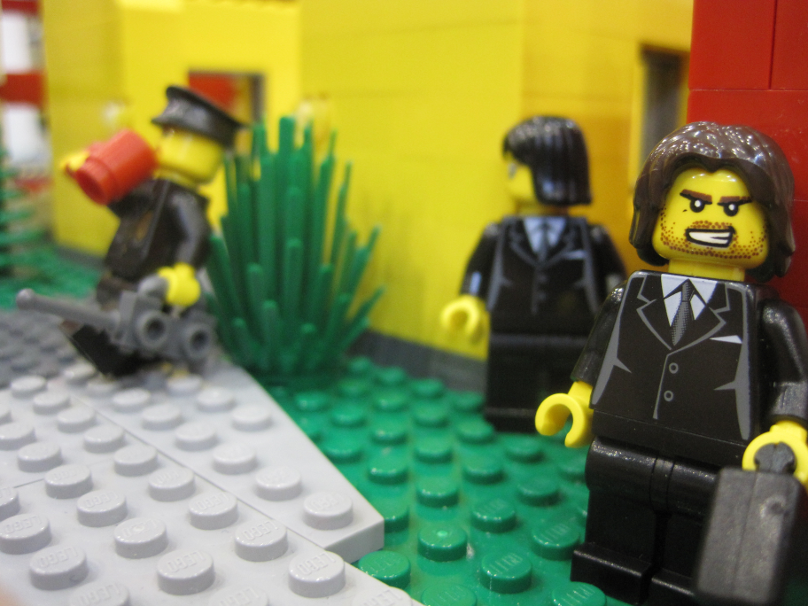
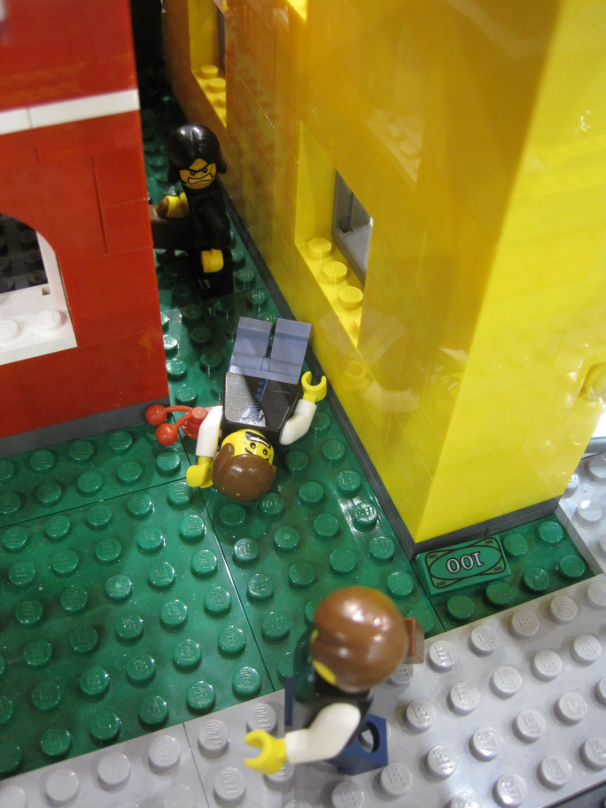
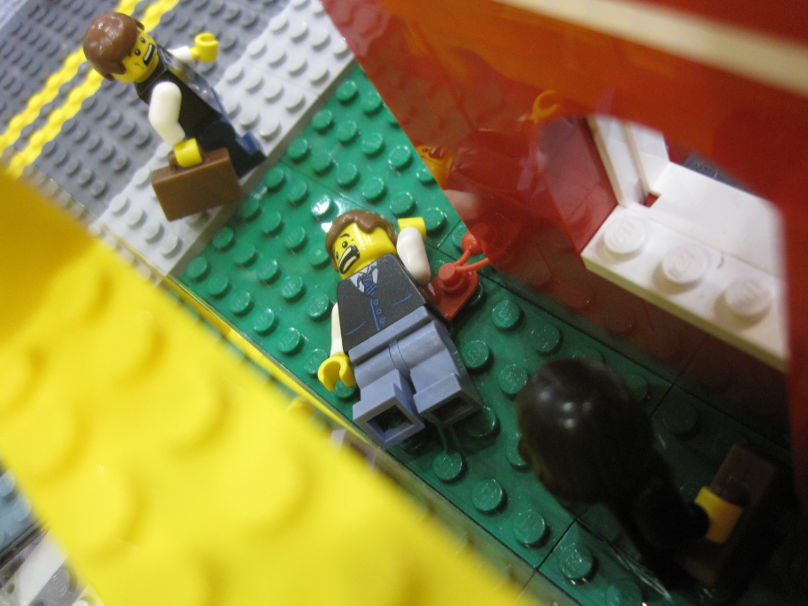
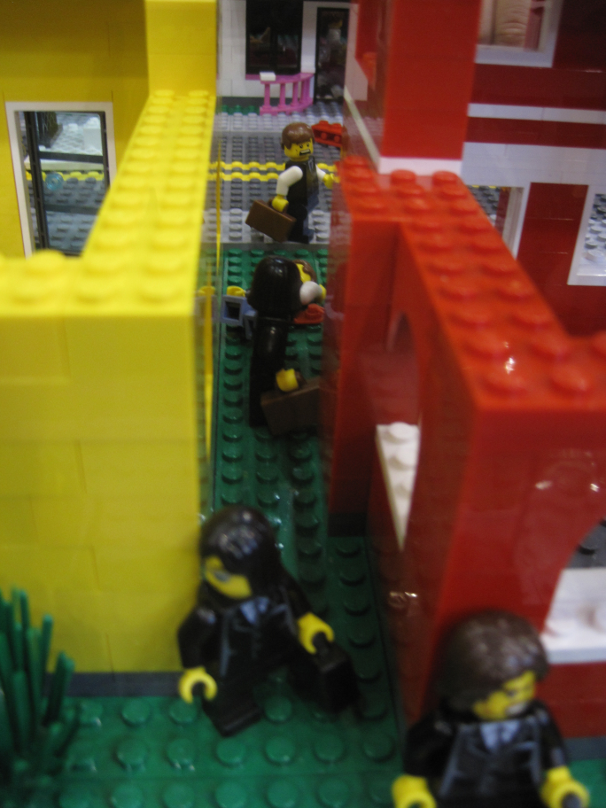
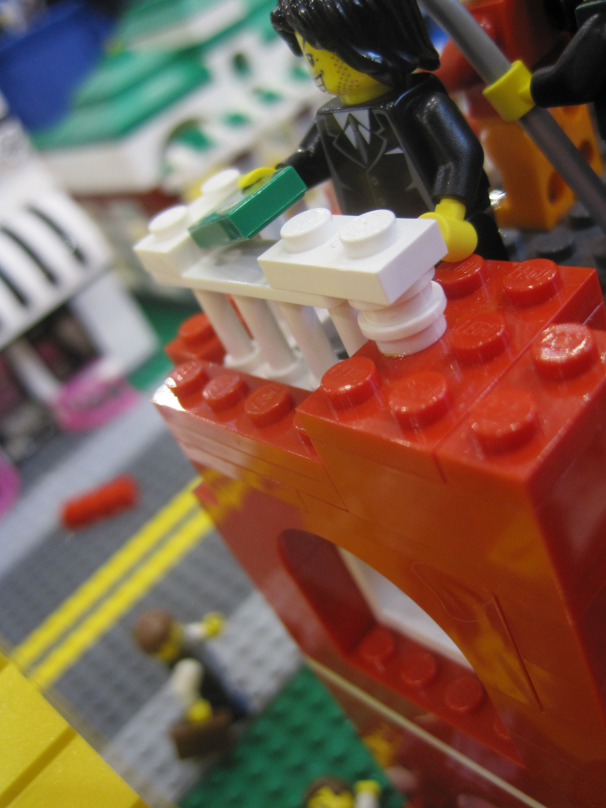
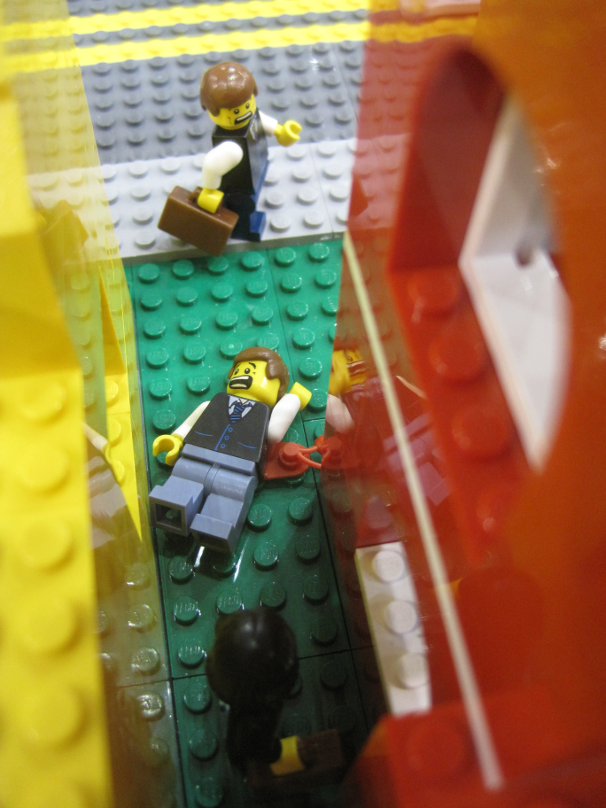
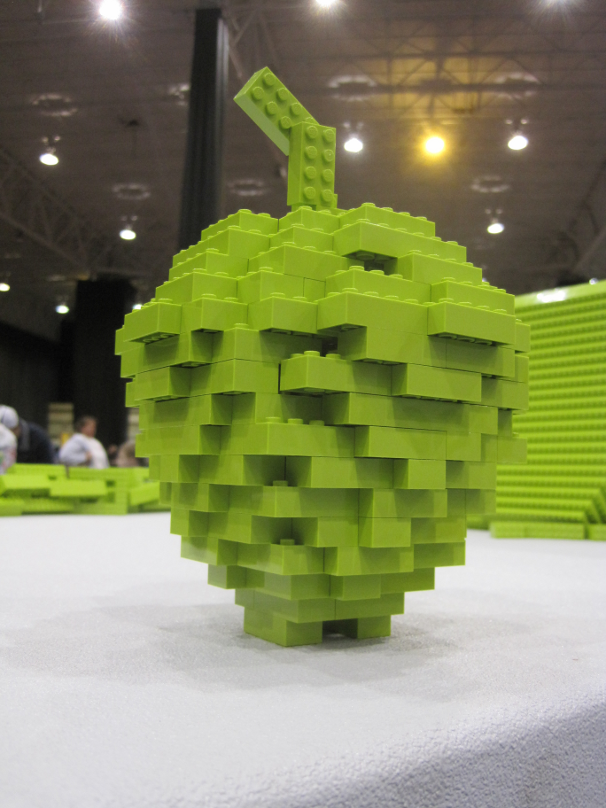
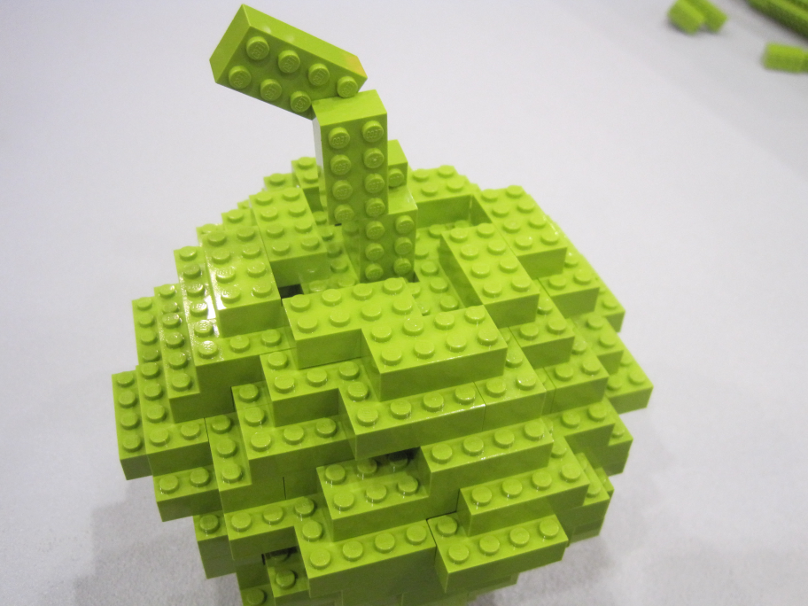
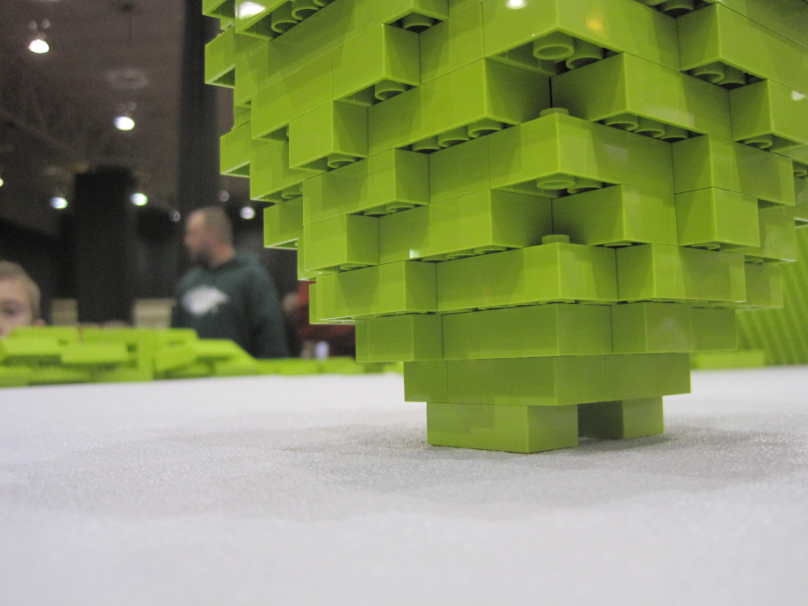
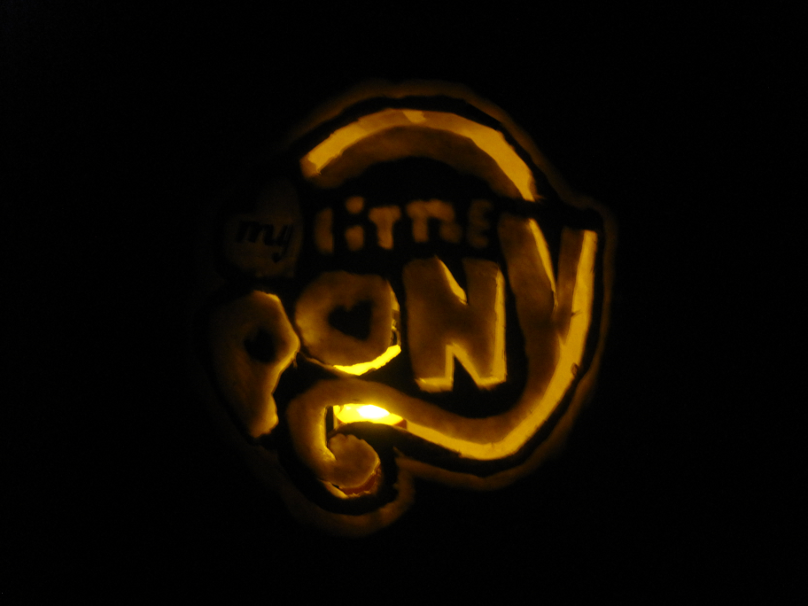
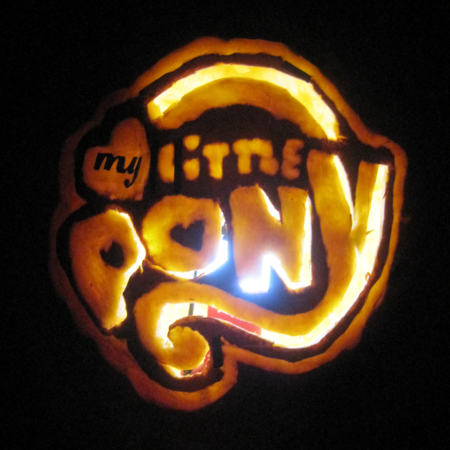
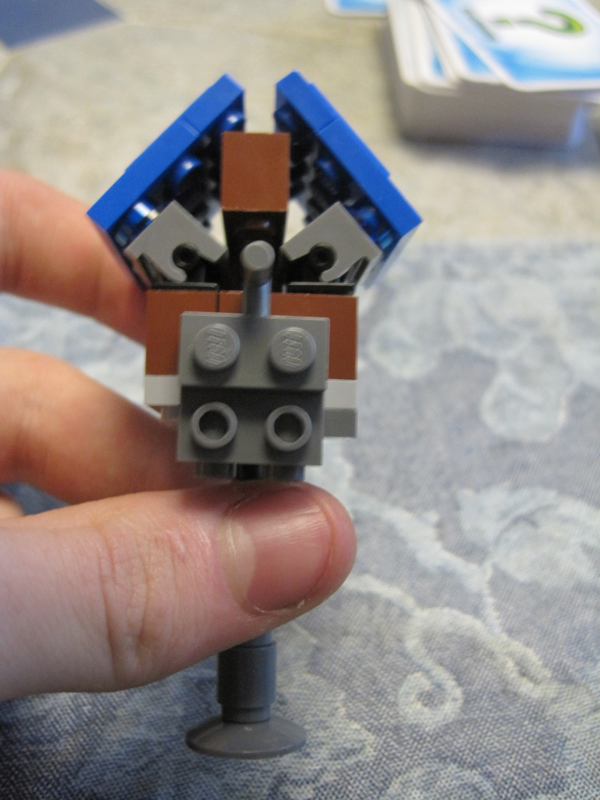
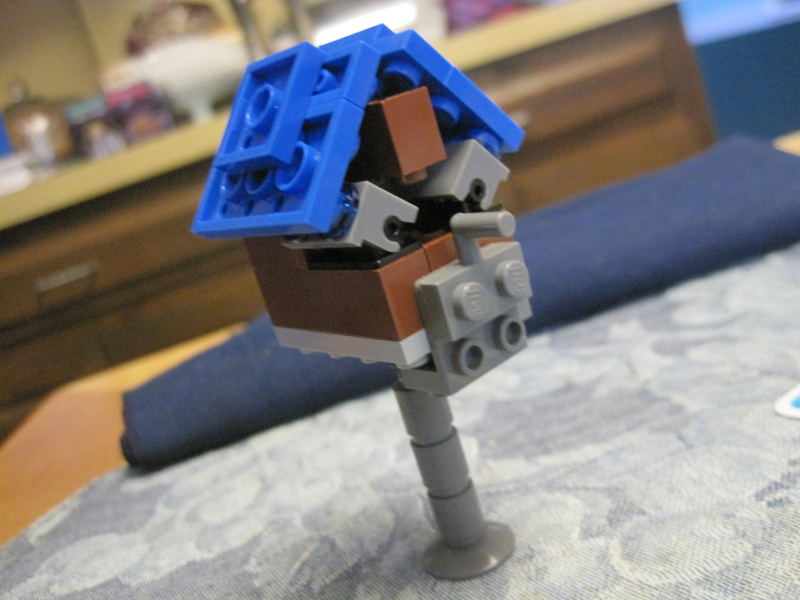
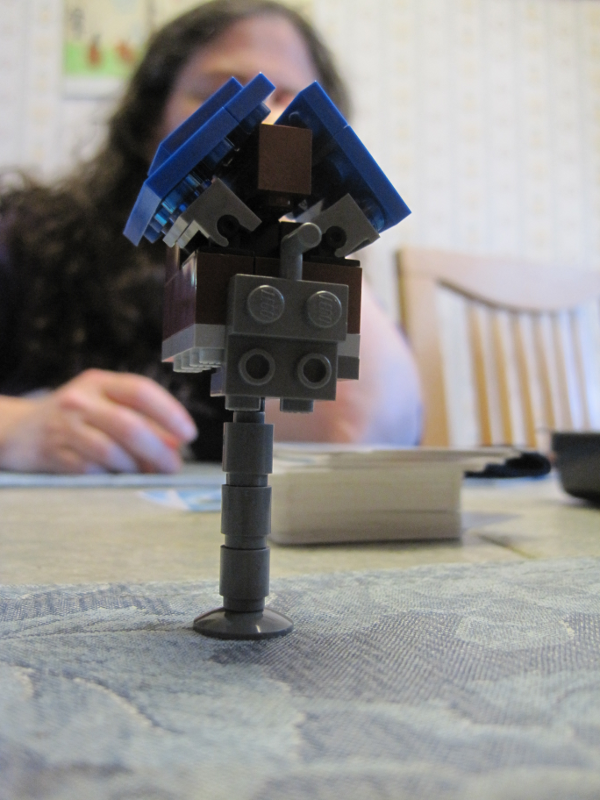
From the LEGO convention, the newspaper, some store, and my Jack-O-Lantern from this halloween, which was the most badass thing ever.
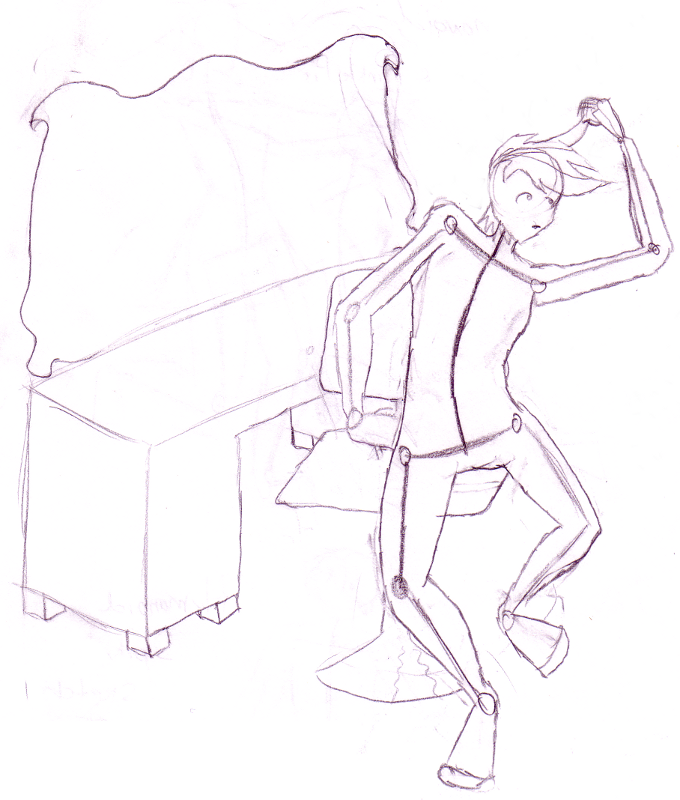
Finally Some Sketches
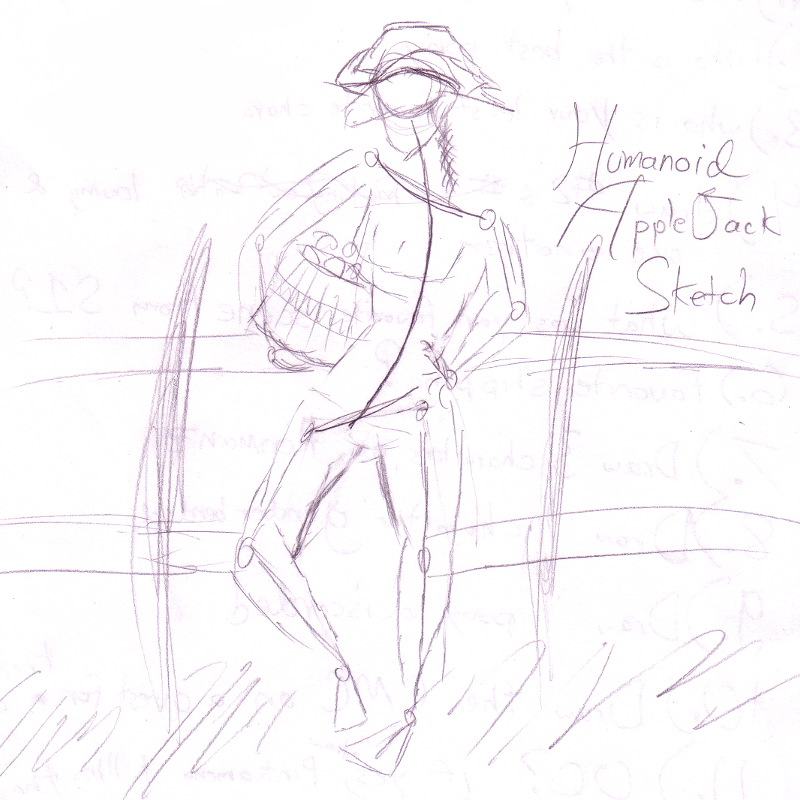
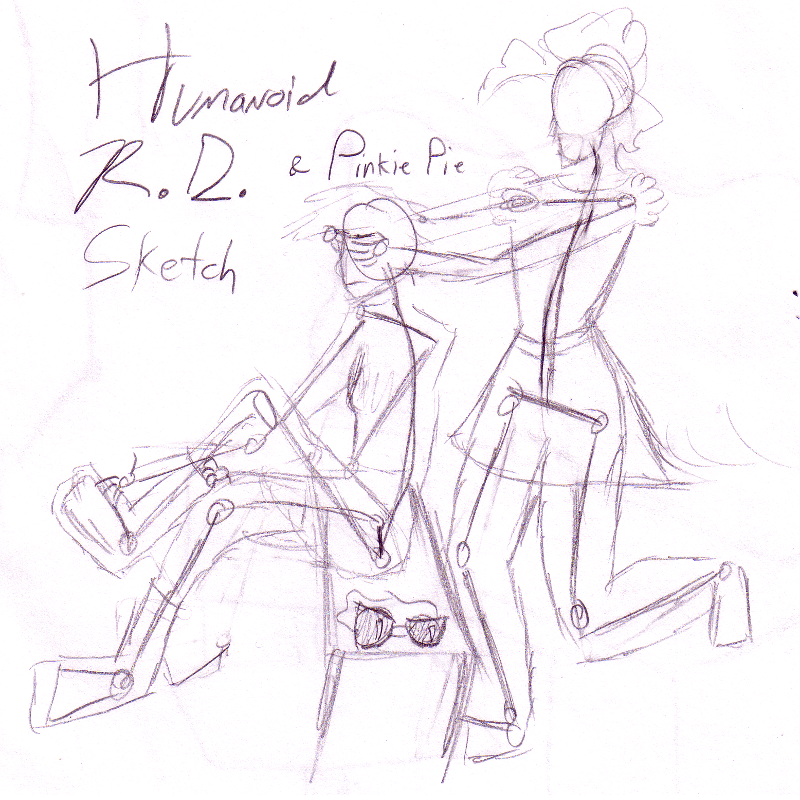
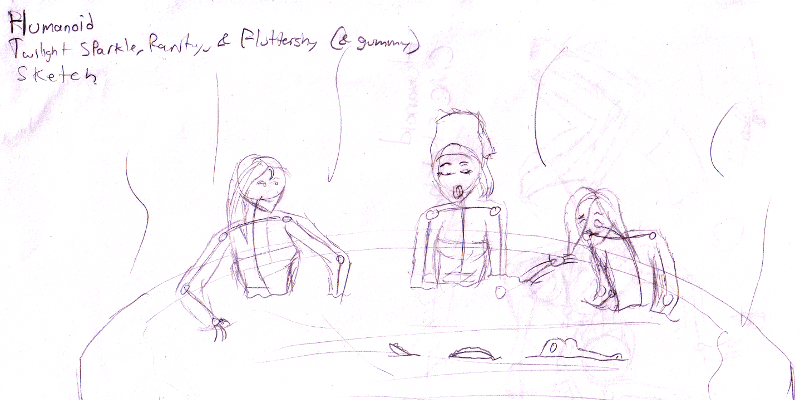
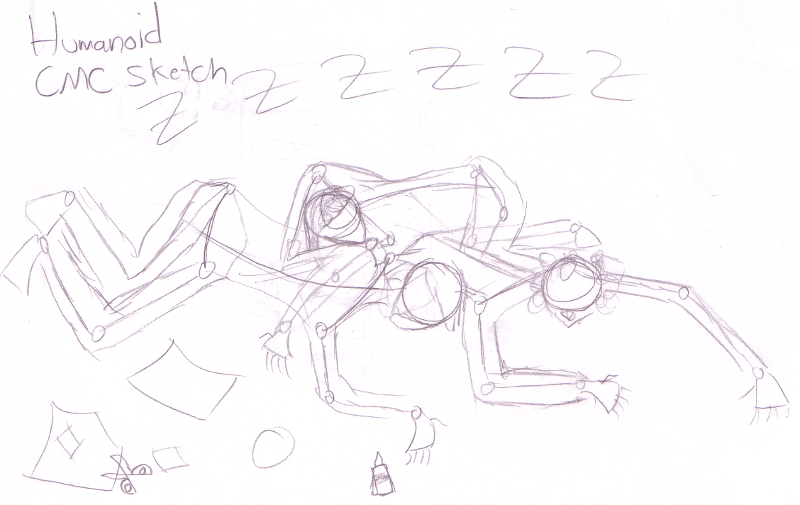
I did these a while back when I was bored in math again. Don’t necessarily plan to do anything with them, but I really like the Pinkie Pie & Rainbow Dash one, as well as the one with Scoots. The story behind them goes like this: I wanted to practice drawing skeletons in poses, and I just made them MLP characters to give them personality. I never intended to go further, though I wish I had.
Oh BTW I’m a Brony. Been one since June.

To view at full size, right-click and open the image in a new tab. Then, click the image again for full size.
More Music
I’ve recently been playing LoZ: A Link to the Past, and I’ve figured out almost every theme on the piano. I’ve got a huge solo medley, and some duet pieces. I need to score one of the duets and the solo medley. I’ll put them up soon. Also, I’ve figured out Super Mario Bros. 2 – Overworld theme.
There is one recording that I have available immediately for your listening pleasure. It’s the Lost Woods theme from Ocarina of Time, which I have yet to play.
Oh, and it’s the only one on ukulele.
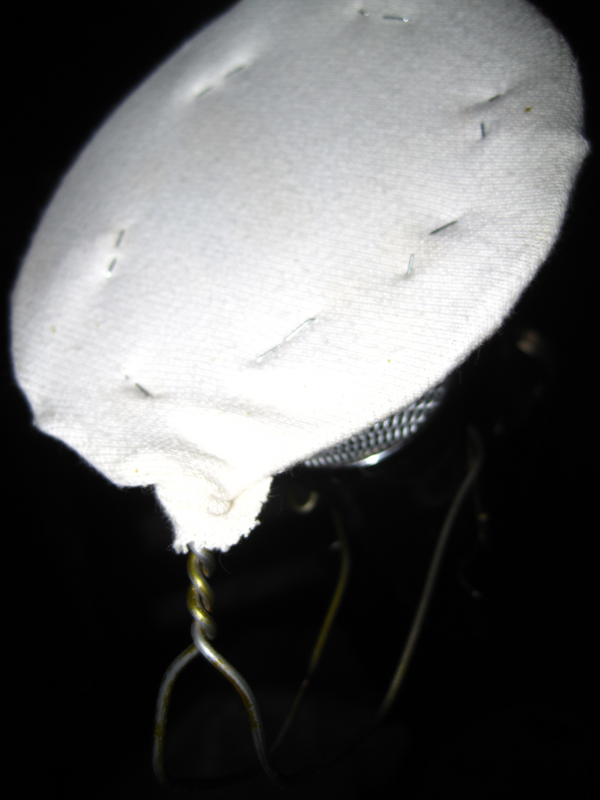
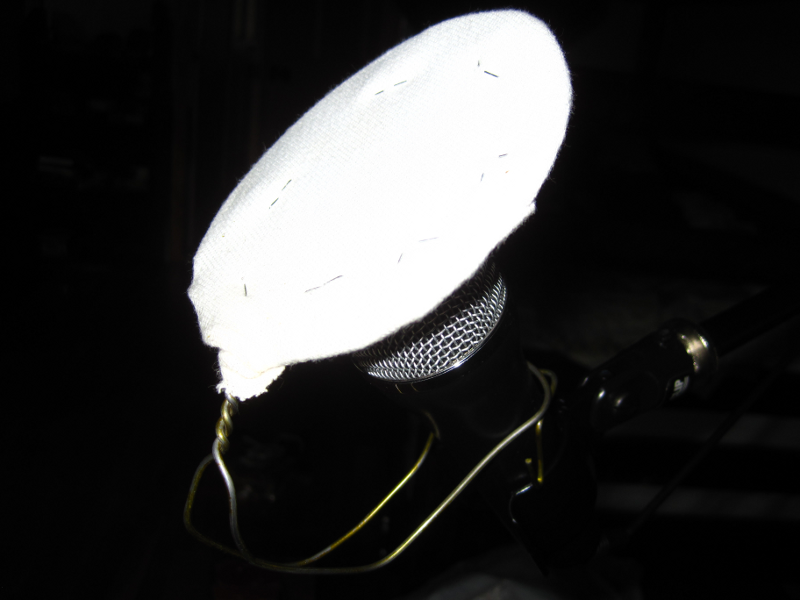
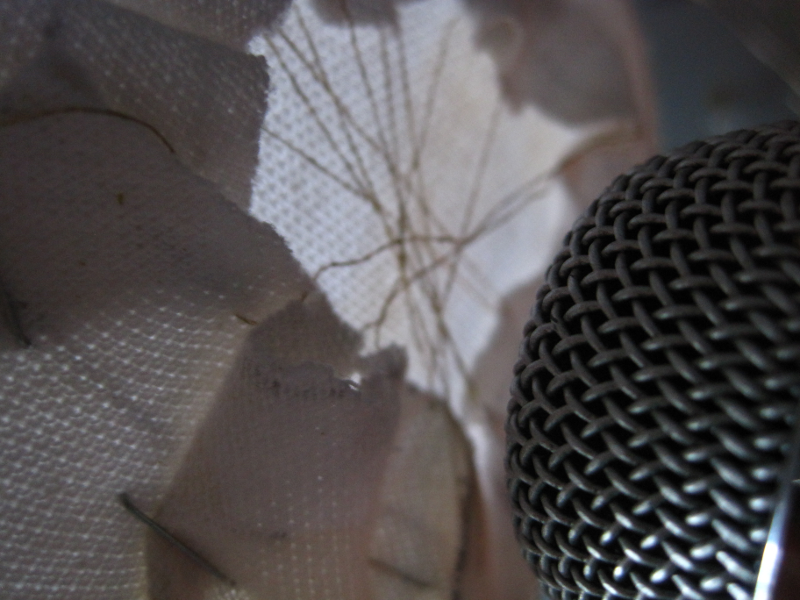
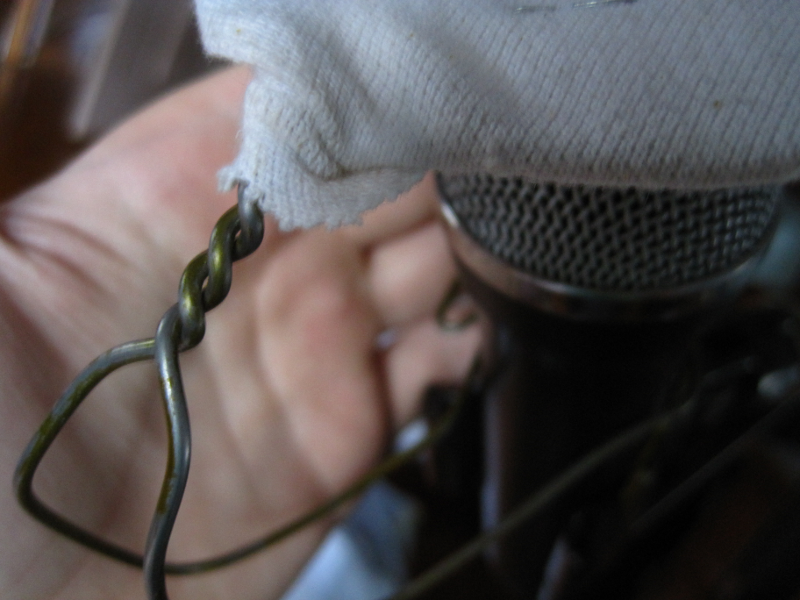
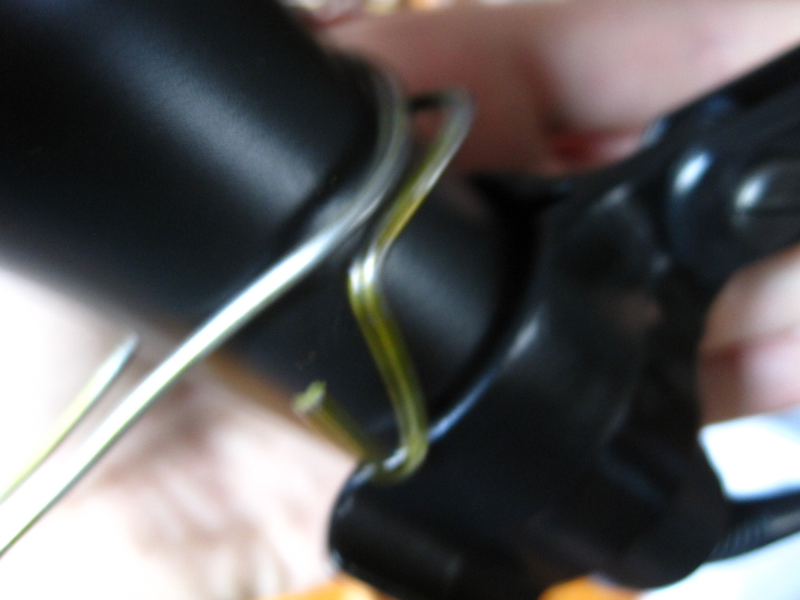
Microphone Pop Filter
You know those annoying consonants: P, B, W, H, T, all the ones that make horrible, half-popping half-banging, air-gun noises wheneveryou speak them into a mic? There’s a thing out there for them (formally known as plosives) called the Pop Filter. Most can run you anywhere from 15$ to 45$, some even higher (some lower, but probably not as good). For most people, that’s a smart buy. But if you want to do it SUPER DIRT CHEAP, you can do it this way.
All you need is an old coat hanger, an old shirt and some thread and/or staples. Parental or friend assistance is nice.
First, the coat hanger is bent into a ring and the loose ends twisted up to seal the ring. Cut a circle out of the shirt and secure it around the ring with pins. You probably should use thread to tie it together, but the string of mine kept breaking and so I was so fed up I went to Mr. Handy Dandy Stapler. Use the loose ends to bend a clamp which goes around your microphone. Adjust as necessary.
I spent no money, using only what I already had. If you don’t have old shirts, any light to medium, breatheable cloth should do. The quality afterwards is surprisingly phenomenal.


As noted in the previous post, only one slideshow can be displayed per page. To view one that does not appear to be displayed, just click the post.
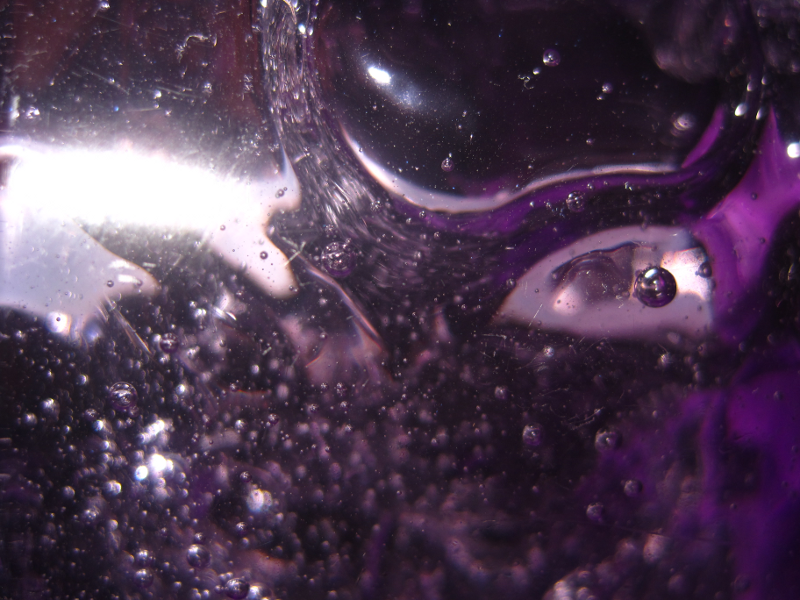
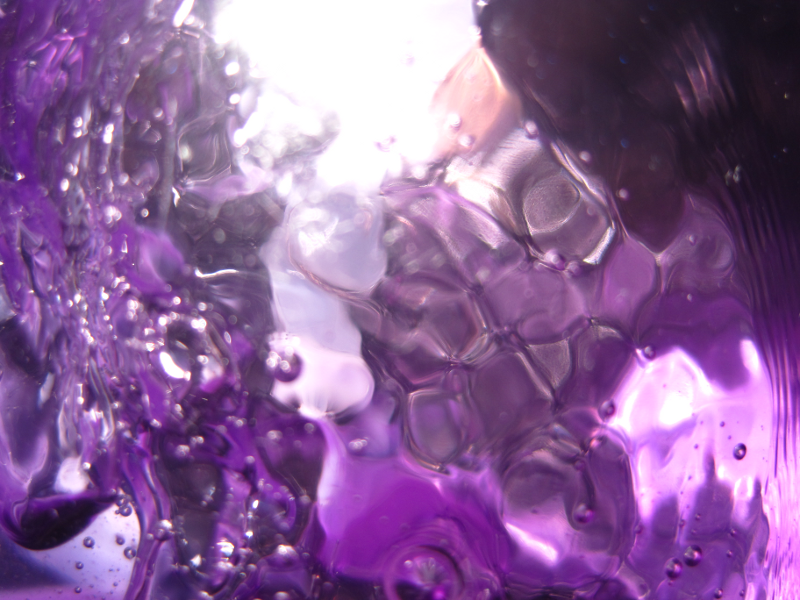
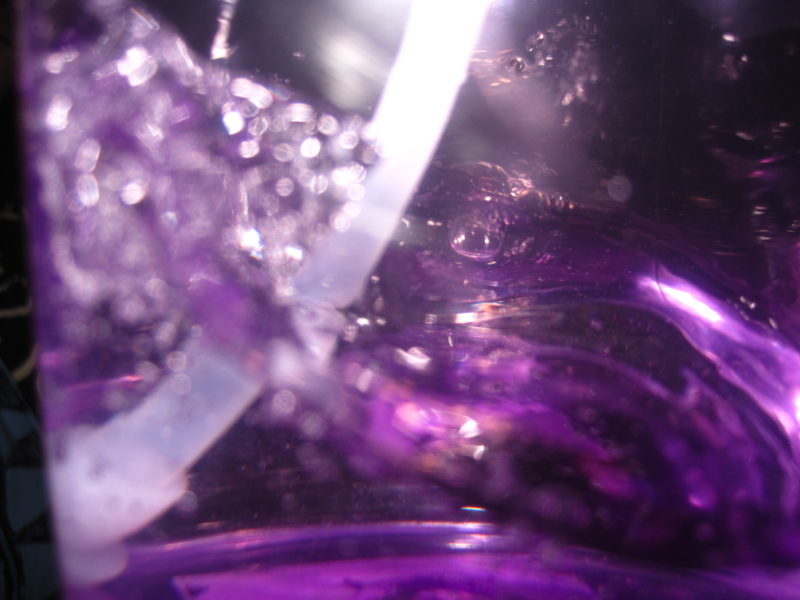
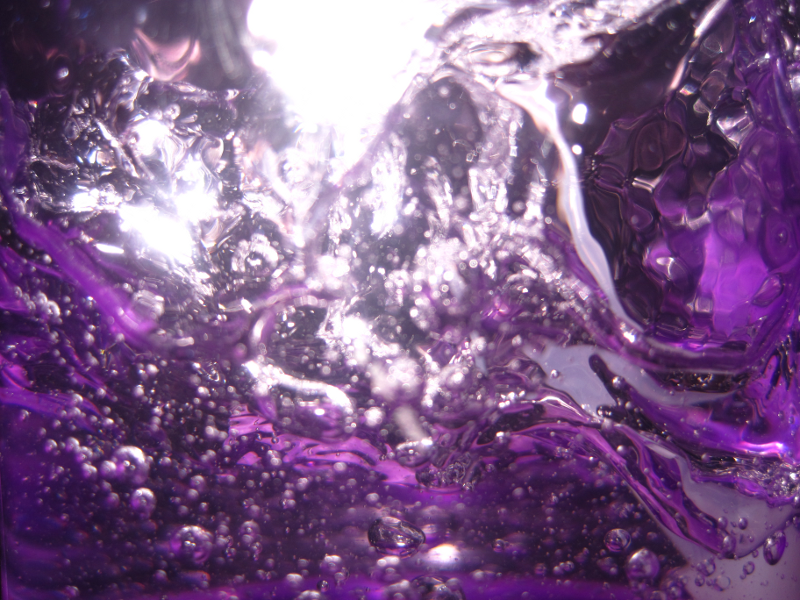
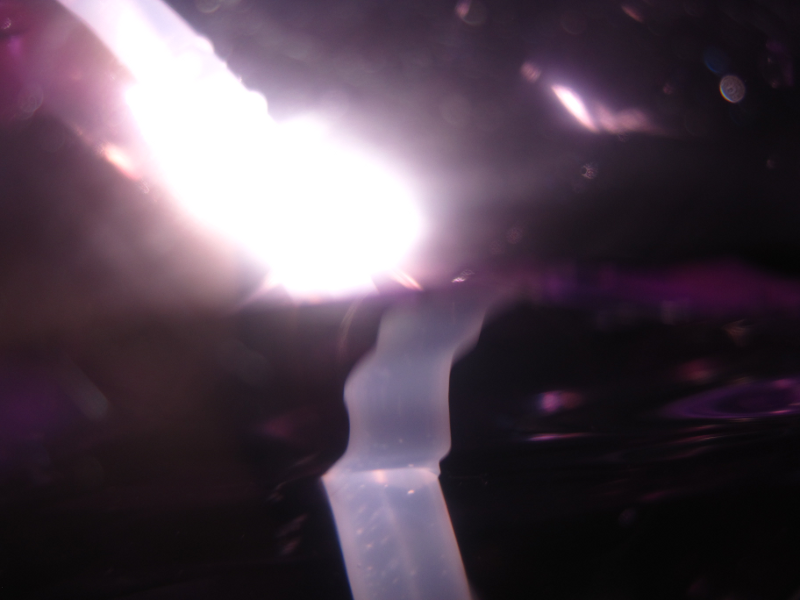
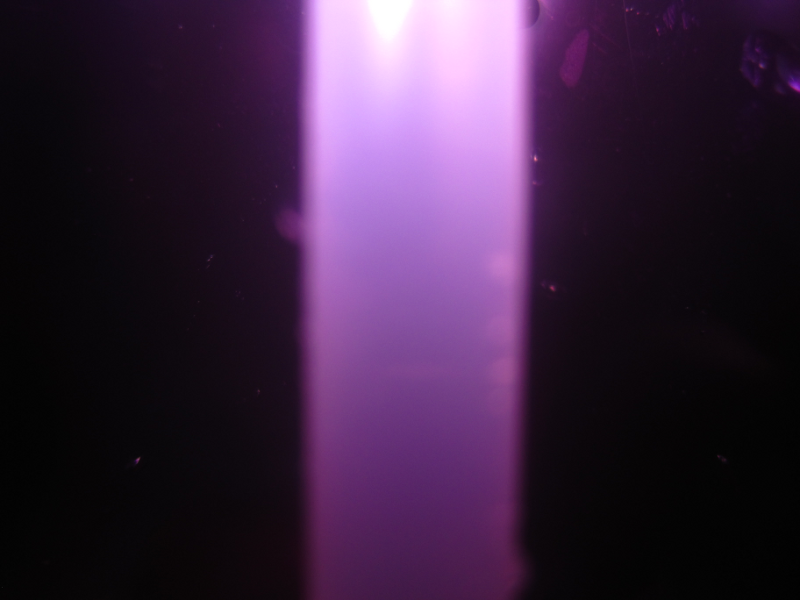
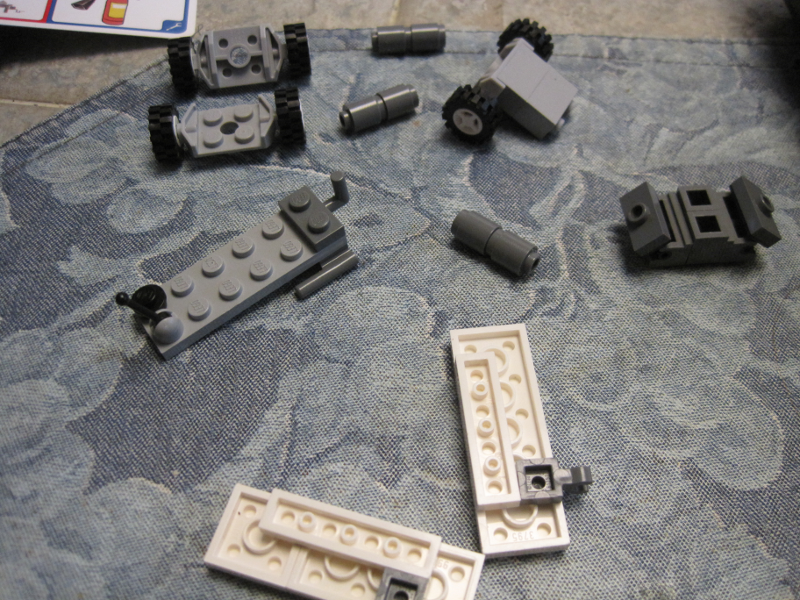
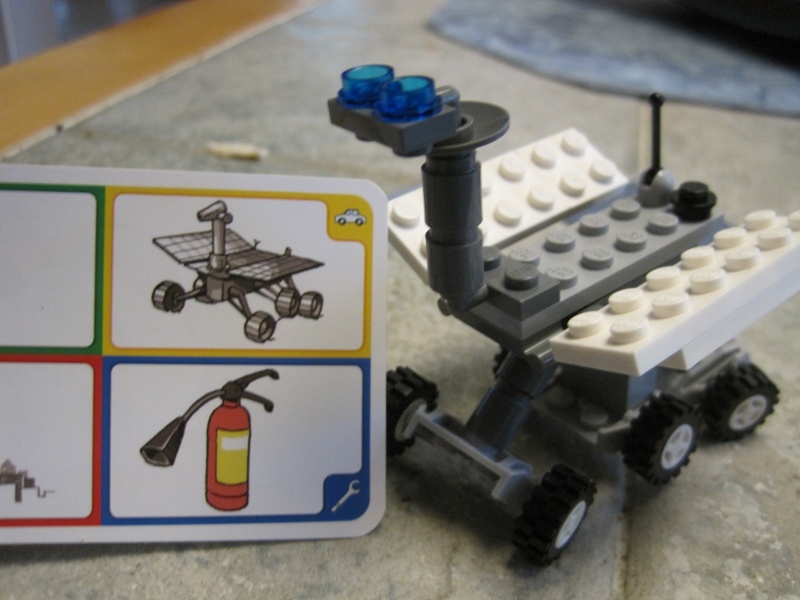
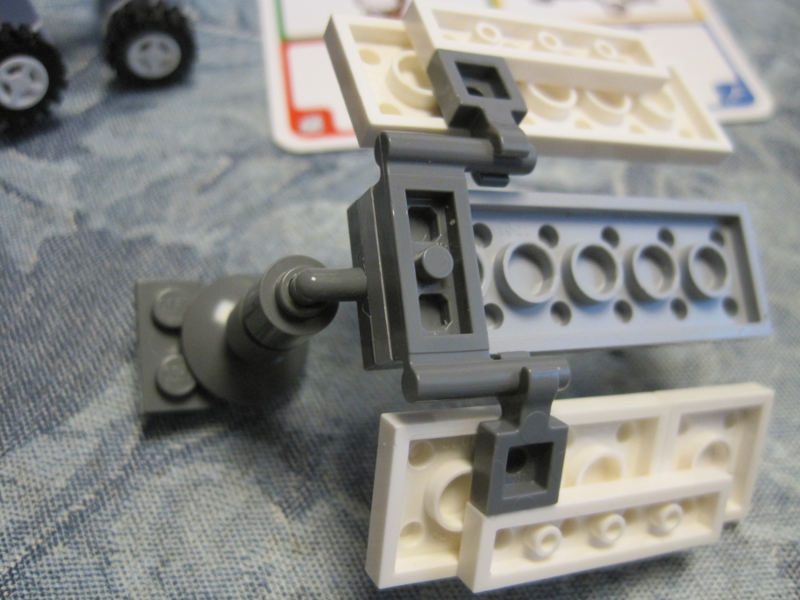
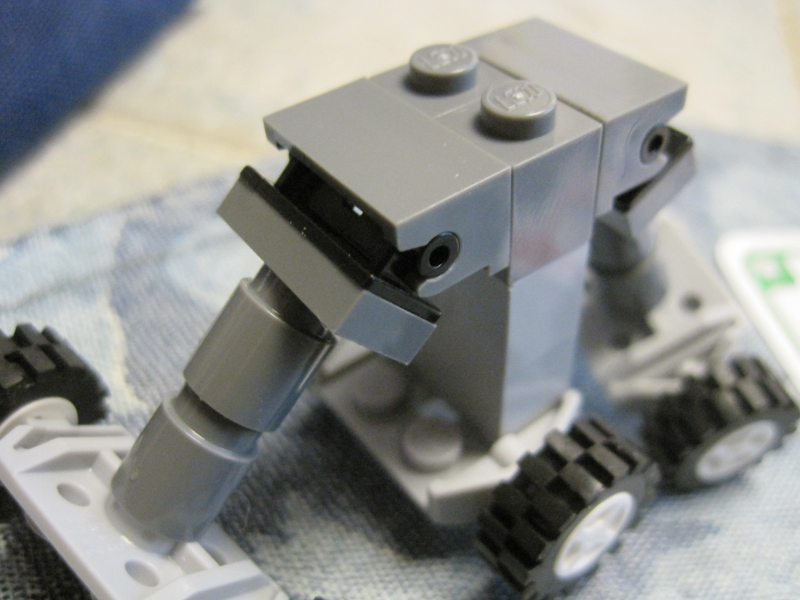
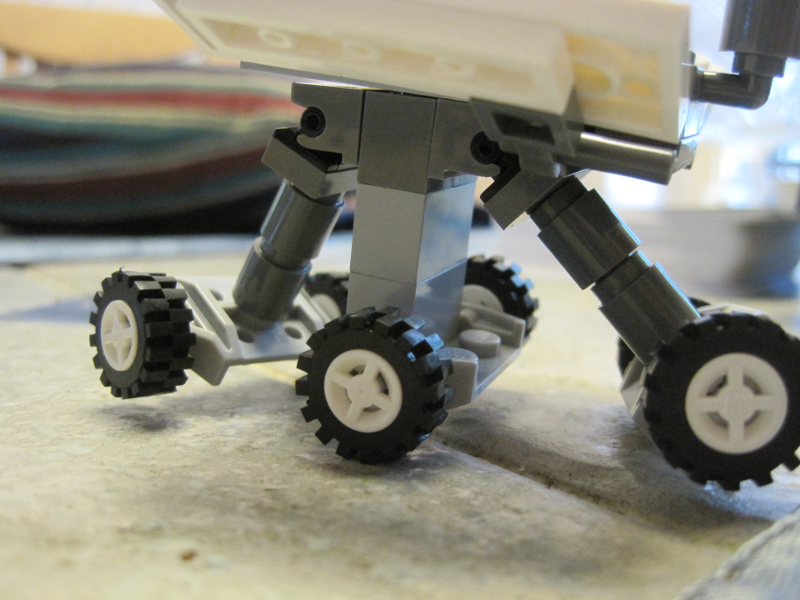
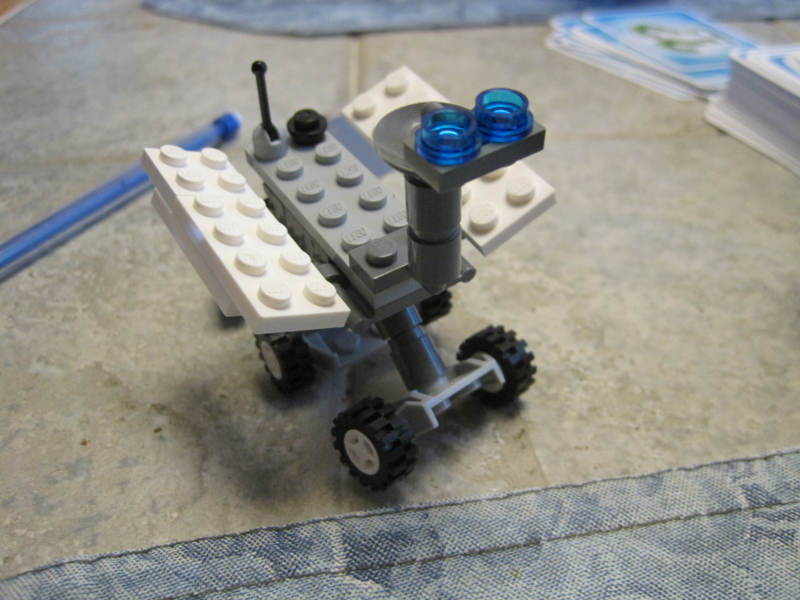
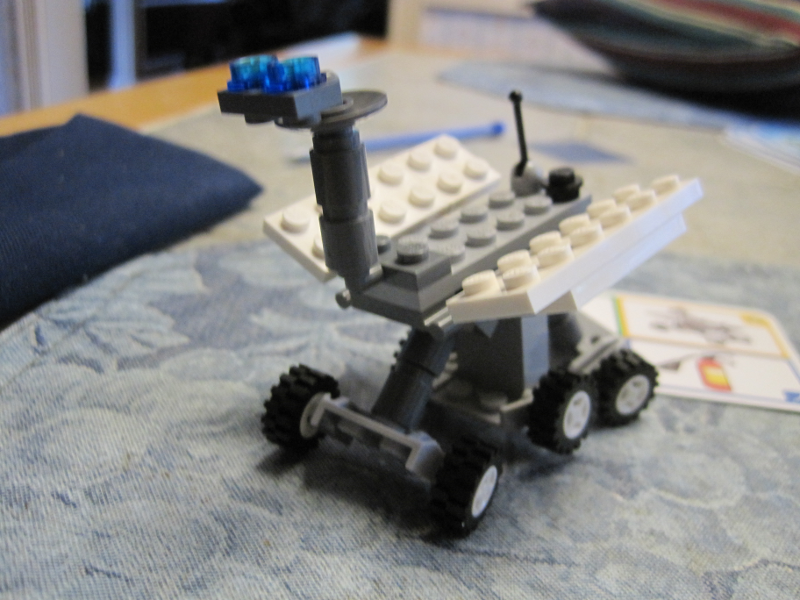
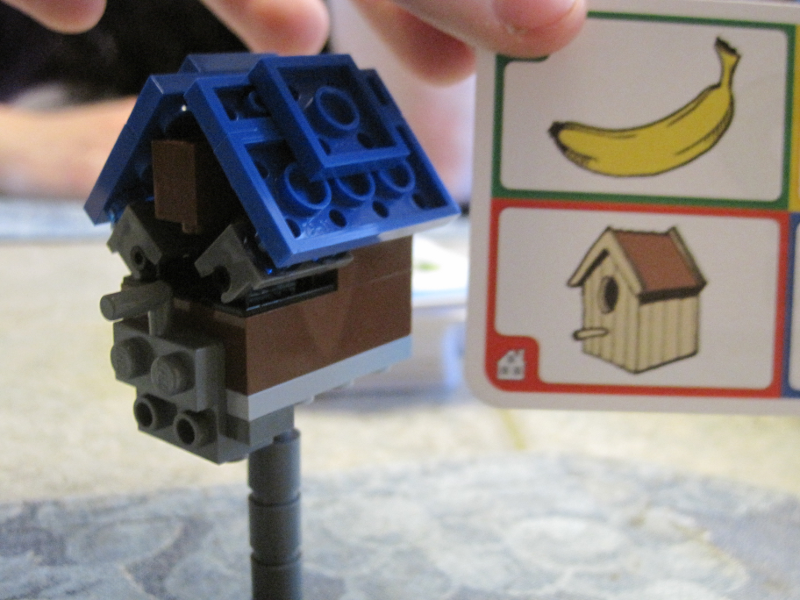
LEGO Creationary, Artful Swirly Things, and Fireworks (and some other stuff)
LEGO Creationary creations, water swirled in a purple plant mister/spritzer, fireworks, and some car lights.
I’ve also just noticed that only one slideshow can be displayed per page. If you can’t see it, there’s probably another slideshow on the main post stream, so to view this one, just click the post.

7-15-11 134_800

7-15-11 133_800

7-15-11 132_800

7-15-11 131_800

7-15-11 107_800

7-15-11 106_800

7-15-11 104_800

7-15-11 101_800

7-15-11 098_800

7-15-11 092_800

7-15-11 091_800

7-15-11 089_800

7-15-11 085_800

7-15-11 081_800

7-15-11 080_800

7-15-11 075_800

7-15-11 074_800

7-15-11 072_800

7-15-11 071_800
7-15-11 066_800
7-15-11 065_800
7-15-11 064_800

7-15-11 063_800
7-15-11 062_800
7-15-11 061_800

7-15-11 060_800

7-15-11 059_800

7-15-11 058_800

7-15-11 057_800
7-15-11 056_800
7-15-11 041_800
7-15-11 040_800
7-15-11 039_800
7-15-11 038_800
7-15-11 037_800
7-15-11 036_800
7-15-11 035_800
7-15-11 034_800
7-15-11 033_800
7-15-11 032_800
7-15-11 031_800
Fireworks
Footage of the local fireworks display.
I’ll figure out how to create video players in posts later on.
NEWS FLASH:
Time to catch up on unblogged activity:
Made two movies for school projects. One is a music video for Chemistry, the other is a comedically abridged version of Romeo and Juliet. that was a few months ago.
Got inducted into Thespians and scored a slot in Senoir Ensemble for next year.
Got a splinter taken out of my foot and went on a biking hiatus. Subsequent treatements to remove scar and wart tissue have also transgressed.
Took a Spanish Camp.
Went to a Speedbumps concert at Wade Oval. TOTALLY AWESOME UKULELE SOLO by band member and soon-to-be solo artist Andrew Bonnis. Also plays upright bass. After a poignant intro about the Cuyahoga River, they dove into their “The Boat House,” during which Andrew played a magnificent and wonderfully lengthy ukulele solo, complete with a retro Super Mario Bros. riff thrown in at one point. It was a warm summer evening, with good food. There was an African-American man there in a derby and a red cape made out of a towel who was blowing bubbles for the dancing children. There was also a hula-hoop dancer who was really talented. She could ring it around her shoulder, and around her knees for the longest time. It was like a scene out of a movie.
In April or something I did a Guest Comic for Bittersweet Candy Bowl. It’s canon 😀 I also did an Art Meme and made some T-Shirts. I’m such a fan.
That’s all for now I think.
Oh, and I’ve been annoying everyone with Legend of Zelda Piano Medleys for months now.
More Manga / Flat Colors Tutorial
 Here’s that “REALLY good manga-style head” I was talking about a few posts back. Of course, a pure manga head would be naught but greyscale or even B&W. But hey, I like mine with flavor. Looks like Lyle {spoilerspoiler}
Oh yeah, here’s how it’s done in GIMP, picking up from where I left off;
- As you can see, there’s definitely the black Lineart Layer and the nice calm green Backdrop Layer. I’ve added the Flat Color Layer between the two.
- First off, if there’s any areas of your drawing that are not completely bordered by Lineart, you should go ahead and close them with the Pencil Tool.
- If there’s a specific part that you want to not have a hard outline border, make an Extra Outlines Layer and draw the border-closing lines there. Put this one above the Flat Color Layer, and you can delete it later. But you still need every section of a distinct color cordoned off. Sort of like a coloring book.
- MAKE SURE that you are working in the Flat Color Layer.
- Go ahead and equip the Fuzzy Select Tool, and make sure the boxes marked Select Transparent Areas and Sample Merged are checked, if not done by default.
- Pick a color from the Color Palette for your webcomic / personal selection. If you don’t have a standard palette, SHAME ON YOU. Make one. You’ll need consistency for this kind of work.
- Select the area you want flooded with your color. If there’s multiple sections you want of the same color that are not contiguous, hold down Shift and you can add those. Make sure everything in your picture that will be of that general color is selected.
- Don’t paint yet! Go to Select → Grow and grow it by one or two pixels (I do one, lazy me.) This will make sure that the color is beneath the ink as well, so that any printing of the picture won’t cause ugly offset and let the background peek through. Or so I’m told. Just do it, anyway.
- Use “Ctrl + ,“. This will fill the area you selected with the foreground color, being the color you selected from the Palette. Make sure that you’re working in the Flat Color Layer.
- Congratulations you have now colored a portion of your image. Repeat for all the different spots with unique Base Colors. Do whatever you like with the Extra Outlines Layer you may have made for the sectiony bit.
- Which reminds me. If when you delete, remove, or otherwise cease the visibility of the Extra Outlines Layer, there happens to be a gap between the two colors, that’s what you get. Working in the Flat Color Layer, you can easily use the Pencil tool to touch up that bit, usually by coloring up the gap manually. It’s fine, just do it.
- I did the eyes a different way. Because of their organic shape (and their lack of an outline border), I simply took the Pencil Tool, set it really big, and drew over the pink area in white, followed by the hazel colors in the smaller areas. Works for me.
—
Next up is adding Value. That means Shading. And Tinting, I suppose, but that word sounds awful tinny, wouldn’t you agree?
Music
Yes, I also write music. Here’s a recent composition that I finished about a day ago, and I took the time to “orchestrate” it.
Vernal Deluge (mp3)
Vernal Deluge Orchestration (mp3)
Vernal Deluge (pdf)